Tips & Techniques
Words and Images by Jason Bradley | April 2025
Galen Rowell once said, “You only get one sunrise and one sunset a day, and you only get so many days on the planet. A good photographer does the math and doesn’t waste either.”
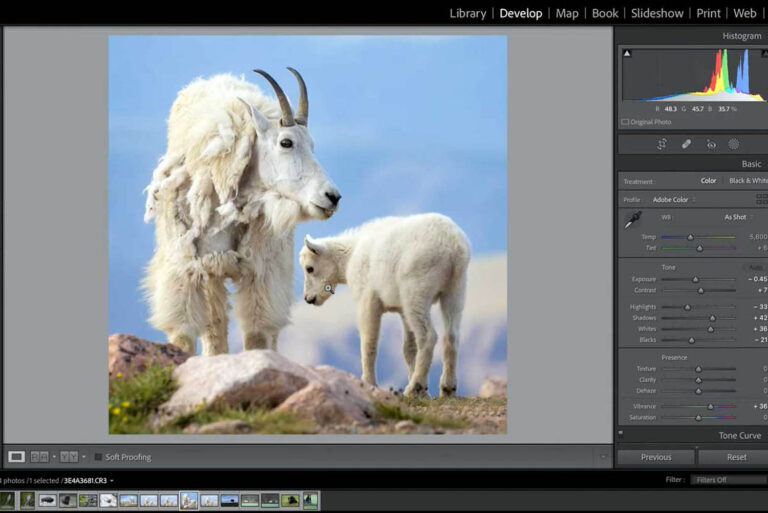
There’s nothing more frustrating than capturing what seems like the perfect landscape — beautiful light, a compelling composition, and a breathtaking scene — only to discover later that your images lack sharpness. A soft foreground, an out-of-focus background, or an overall lack of crisp detail can turn an otherwise stunning photograph into a disappointment. How to fix out of focus photos can be challenging. This article covers ways to capture sharper images from the start.
Every opportunity to capture the natural world is precious. Technical mistakes — especially something as preventable as a soft image — can mean the difference between a once-in-a-lifetime shot and a lost moment of beauty. Understanding what causes focus issues and how to prevent them is essential for producing landscape images that are both visually striking and technically precise. Let’s break down the key factors contributing to unsharp images and explore techniques to ensure your landscapes are tack sharp.
Achieving maximum sharpness in a landscape image starts with selecting the right aperture. Every lens has a “sweet spot.” Typically it’s a few stops down from its widest setting, where it produces the sharpest results. While stopping down increases depth of field, closing the aperture all the way introduces diffraction, which is an optical effect that softens the entire image.
Instead of assuming that the smallest aperture will yield the sharpest shot, it’s best to experiment with mid-range settings where your lens performs optimally. For example, if your lens stops down to f/22 and you need to ensure maximum depth of field, try shooting at f/16 or f/18 instead. A good rule of thumb is to stop all the way down, then open up a couple of clicks to find the best balance between sharpness and depth.
A tripod is one of the most effective tools for ensuring sharp landscapes. Though, simply using one isn’t enough — you need to set it up properly. Many photographers assume that if the camera is on a tripod, their image will be sharp. With that said, an unstable setup can introduce just as much blur as shooting handheld.
A good-quality, sturdy tripod is essential, particularly when working with longer exposures. Flimsy, lightweight models may seem convenient, but they’re more susceptible to vibrations, especially in windy environments. Even with a strong tripod, how you position it plays a crucial role in maintaining sharpness. Extending the center column, for example, raises the camera’s height but significantly reduces stability by making the setup top-heavy. Keeping the center column as low as possible, or avoiding its use altogether, helps maintain a firm foundation.
Wind is another factor that can introduce motion blur, even when using a tripod. In particularly blustery conditions, spreading the tripod legs wider can help lower the center of gravity and create a more stable base. Many professional tripods also come equipped with a hook beneath the center column, allowing you to hang a weight, such as your camera bag, to anchor the setup. This added weight minimizes the chances of wind-induced vibrations. Additionally, your body can be a barrier against strong gusts — positioning yourself between the wind and the tripod can help deflect some of the wind’s force.
If shooting handheld, use a shutter speed that is fast enough to counteract shake. A general rule: Your shutter speed should be at least 1/focal length. For example, if using a 100mm lens, shoot at 1/100 sec. or faster. Image stabilization can help, but it isn’t foolproof, especially in high-resolution cameras that reveal every tiny movement.
Even in less extreme conditions, subtle vibrations can affect image clarity, so it’s worth taking a few extra moments to ensure your setup is as solid as possible before pressing the shutter.
Even the slight press of a shutter button can introduce movement, especially at slower shutter speeds. When shooting at shutter speeds around 1/4 sec. or 1/2 sec., the simple act of pressing the button can cause micro-movements that result in blur. This is particularly problematic when capturing long exposures or shooting in low-light conditions where stability is crucial.
Using a remote trigger, wired or wireless, prevents direct contact with the camera, eliminating shutter button movement. A 2-second timer can also be effective by allowing the camera to stabilize before the shutter activates. Many modern cameras now include smartphone apps that allow for wireless triggering, further reducing the chance of vibrations. By minimizing any physical contact with the camera during exposure, a remote shutter release ensures the sharpest possible results, especially for long-exposure landscape photography.
Achieving critical sharpness in landscape photography starts with knowing where to focus. One of the best techniques for maximizing depth of field is using hyperfocal distance, the optimal focusing point that ensures the greatest range of sharpness from the foreground to infinity. Rather than focusing on the nearest subject or the farthest background element, hyperfocal distance places the focus at a strategic point, often about one-third into the scene, to extend clarity throughout the frame. Many photographers use hyperfocal distance charts or mobile apps to determine the exact focus point based on their aperture and focal length, ensuring both foreground and background remain crisp.
Not all lenses are created equal, and the sharpness of your landscape images is often dictated by the quality of the glass you use. Some lenses inherently produce sharper results than others. Factors like optical design, coatings, and construction all play a role in image clarity.
One of the most common issues that can degrade image sharpness is chromatic aberration, a type of distortion that appears as color fringing along high-contrast edges in a photo. This occurs when different wavelengths of light don’t converge at the same point, leading to slight shifts in color, often noticeable in tree branches against a bright sky. High-quality lenses use low-dispersion glass (ED, LD, or fluorite elements) and reduce this effect. These types of lenses make superior choices for landscape photography, where fine details are critical.
Another factor affecting sharpness is aperture design. Some lenses have variable apertures, meaning the maximum aperture changes depending on the zoom level. These are often lower-end or consumer-grade zoom lenses that sacrifice optical performance for affordability and convenience. Higher-end, constant-aperture lenses (such as an f/2.8 zoom) maintain a fixed maximum aperture throughout the zoom range, offering better sharpness and consistency. Better yet are prime lenses with a fixed focal length. They tend to deliver the sharpest results because they’re optically simpler and don’t have to account for zoom mechanisms that can introduce minor imperfections.
Zoom lenses, while versatile, can introduce small trade-offs in sharpness, especially at the extreme ends of their focal range. Many zooms have a “sweet spot” where they perform best. It is often somewhere in the middle of their zoom range and around mid-range apertures. Superzoom lenses, such as 18-300mm or 24-240mm, are particularly prone to image softness due to their complex optical design. High-quality zooms with more limited focal ranges, like a 24-70mm, tend to perform much better.
Another element that can degrade image quality is the use of protective filters, particularly cheap ones. Many photographers mistakenly believe that adding a UV or clear protective filter will safeguard their lens without affecting image quality. In reality, low-quality filters introduce unwanted reflections, reduce contrast, and soften details. Modern lenses already have coatings to block UV light, making UV filters unnecessary. If protection is truly a concern, using a high-quality lens hood is a better alternative. It not only shields the front element from accidental impact but also helps reduce lens flare and improve contrast.
Choosing the right lens for landscape photography means understanding how different optical characteristics impact sharpness. Investing in high-quality glass, avoiding unnecessary filters, and knowing the strengths and weaknesses of your gear will lead to sharper, more detailed images.
DSLR users might experience slight vibrations from the mirror flipping up inside the camera, introducing softness at slower shutter speeds. This phenomenon, known as “mirror slap,” can cause noticeable blur when shooting at critical speeds, such as 1/8 to 1/60 of a sec. To minimize this effect, use mirror lock-up mode or electronic first curtain shutter (EFCS), if available. Mirrorless cameras don’t suffer from mirror slap, but they can experience shutter shock, a vibration caused by the mechanical shutter mechanism. Enabling “electronic shutter modes” or using “electronic first curtain shutter” can mitigate this problem and result in sharper images.
Shooting across long distances, especially in warm conditions, can introduce heat shimmer and softness. This is common when shooting deserts, roads, or distant mountain ranges during midday. To minimize the effect, shoot during cooler parts of the day and change angles to reduce distortion.
Mastering landscape sharpness requires a mix of proper technique, the right gear, and an understanding of environmental factors. By making a few adjustments to your shooting habits, you’ll see a noticeable improvement in your images — no more soft, disappointing landscapes. Whether it’s refining your focus techniques, stabilizing your camera, or selecting the best lens for the job, these steps will help you capture landscapes with the sharpness and clarity they deserve.
Jason Bradley operates a print lab and offers workshops and events. Learn more at www.bradleyphotographic.com and follow his work on instagram, @bradleyphotographic.
Get Annual Subscription